CosyVoice Open Source: https://github.com/FunAudioLLM/CosyVoice
Supports Chinese, English, Japanese, Korean, and Cantonese, with corresponding language codes
zh|en|jp|ko|yue
Using in Video Translation Software

- First, update your pyVideoTrans software to the latest version.
- Ensure you have deployed the CosyVoice2 project and started
webui.py. You should be able to access the interface in your browser athttp://127.0.0.1:8000. - Open the video translation software, and in the upper left corner, go to Settings -- CosyVoice: Enter the address of
webui.py, which ishttp://127.0.0.1:8000by default. - Enter the reference audio and corresponding text.
Reference Audio Instructions:

Each line should be divided into two parts by the '#' symbol. The first part is the path to the WAV audio file, and the second part is the corresponding text content. You can enter multiple lines.

The WAV audio duration must be less than 10 seconds. The audio files must be placed in the `f5-tts` directory of your pyVideoTrans project.  Enter only the filename here. The audio needs to be in WAV format.

Reference Audio Example:

1.wav#Hello dear friends
2.wav#Hello friends- Once completed, in the main interface, select CosyVoice as the dubbing channel, and select the corresponding role. The clone role replicates the original video's voice tone.
For other systems, please deploy CosyVoice first, as detailed below.
Source Code Deployment of the Official CosyVoice Project
Deployment uses conda, which is strongly recommended. Otherwise, successful installation may be difficult, and you may encounter numerous problems. Some dependencies cannot be successfully installed with pip on Windows, such as
pynini.
1. Download and Install Miniconda
Miniconda is a conda management software that is easy to install on Windows. It can be installed like any other software by simply clicking "Next" through the installation wizard.
Download address: https://docs.anaconda.com/miniconda/

After downloading, double-click the EXE file.


Note: On the following screen, you need to select the top two checkboxes. Otherwise, subsequent operations may be more complicated. Selecting the second checkbox means "Add conda command to system environment variables." If you don't select it, you won't be able to use the conda short commands directly.

Then click "Install" and wait for completion, then click "Close".
2. Download the CosyVoice Source Code
First, create an empty directory, such as D:/py on the D drive. The following instructions will use this as an example.
Open the CosyVoice open source address: https://github.com/FunAudioLLM/CosyVoice

Download and extract the files. Copy all the files from the CosyVoice-main directory into D:/py.


3. Create and Activate a Virtual Environment
Enter the D:/py folder, type cmd in the address bar, and press Enter. This will open a command prompt window.

In this window, enter the command conda create -n cosyvoice python=3.10 and press Enter. This will create a virtual environment named "cosyvoice" with Python version "3.10".

Next, enter the command conda activate cosyvoice and press Enter. This activates the virtual environment. Only after activation can you continue with installation, startup, and other operations, otherwise errors will occur.

The activated state is indicated by the addition of the "(cosyvoice)" character at the beginning of the command line.

4. Install the pynini Module
This module can only be installed using the conda command on Windows. This is why using conda is recommended for Windows.
In the same command prompt window where you opened and activated the environment, enter the command conda install -y -c conda-forge pynini==2.1.5 and press Enter.

Note: During installation, a prompt will appear asking for confirmation. Enter y and press Enter, as shown below.

After successful execution, enter the command pip install WeTextProcessing==1.0.3 and press Enter.
5. Install Other Dependencies, Using the Alibaba Cloud Mirror
Open the
requirements.txtfile, delete the last lineWeTextProcessing==1.0.3, otherwise the installation will definitely fail because this module depends onpynini, which cannot be installed with pip on Windows.Then add 3 lines to
requirements.txt:Matcha-TTS,flask, andwaitress.

Continue to enter the command
pip install -r requirements.txt -i https://mirrors.aliyun.com/pypi/simple/ --trusted-host=mirrors.aliyun.com
and press Enter. After a long wait, the installation should be successful.
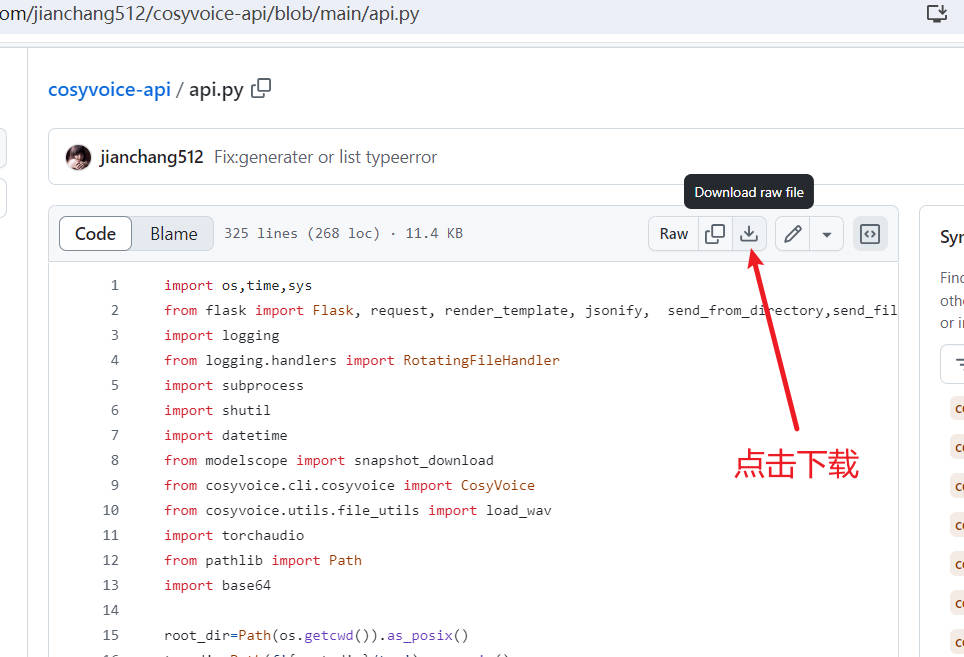
6. Download the api.py File and Place it in the Project Directory
Go to this address: https://github.com/jianchang512/cosyvoice-api/blob/main/api.py and download the api.py file. Place it in the same directory as webui.py.

Start the API Service
The API endpoint is:
http://127.0.0.1:9233
Enter and execute the command python api.py

API Endpoint List
Synthesize Text Based on Built-in Roles
Endpoint: /tts
Synthesizes text into speech without voice cloning.
Required parameters:
text: The text to be synthesized.
role: Select one: '中文女' (Chinese Female), '中文男' (Chinese Male), '日语男' (Japanese Male), '粤语女' (Cantonese Female), '英文女' (English Female), '英文男' (English Male), '韩语女' (Korean Female)
Successful response: WAV audio data
Example code
data={
    "text":"你好啊亲爱的朋友们",
    "reference_audio":"10.wav"
}

response=requests.post(f'http://127.0.0.1:9933/tts',data=data,timeout=3600)Same Language Voice Cloning Synthesis
- Endpoint: /clone_eq
The language of the reference audio should match the language of the text to be synthesized. For example, if the reference audio is in Chinese, then the Chinese text will be synthesized into speech based on the reference audio.
- Required parameters:
text: The text to be synthesized.
reference_audio: The reference audio for voice cloning.
reference_text: The text corresponding to the reference audio. The path to the reference audio relative to api.py. For example, if referencing 1.wav, and the file is in the same directory as api.py, then enter 1.wav.
Successful response: WAV data
Example code
data={
    "text":"你好啊亲爱的朋友们。",
    "reference_audio":"10.wav",
    "reference_text":"希望你过的比我更好哟。"
}

response=requests.post(f'http://127.0.0.1:9933/tts',data=data,timeout=3600)Different Language Voice Cloning
- Endpoint: /cone
The language of the reference audio is different from the language of the text to be synthesized. For example, synthesizing English text into speech based on a Chinese reference audio.
- Required parameters:
text: The text to be synthesized.
reference_audio: The reference audio for voice cloning. The path to the reference audio relative to api.py. For example, if referencing 1.wav, and the file is in the same directory as api.py, then enter 1.wav.
Successful response: WAV data
Example code
data={
    "text":"親友からの誕生日プレゼントを遠くから受け取り、思いがけないサプライズと深い祝福に、私の心は甘い喜びで満たされた!。",
    "reference_audio":"10.wav"
}

response=requests.post(f'http://127.0.0.1:9933/tts',data=data,timeout=3600)OpenAI TTS Compatibility
- Endpoint: /v1/audio/speech
- Method: POST
- Content Type: Content-Type: application/json
- Parameters:
input: Text to synthesizemodel: Fixed to tts-1, compatible with OpenAI parameters, but not actually used.speed: Speech rate, default 1.0reponse_format: Response format, fixed to WAV audio data.voice: Used only for text synthesis. Choose one: '中文女' (Chinese Female), '中文男' (Chinese Male), '日语男' (Japanese Male), '粤语女' (Cantonese Female), '英文女' (English Female), '英文男' (English Male), '韩语女' (Korean Female)
When cloning, enter the path to the reference audio relative to
api.py. For example, if referencing1.wav, and the file is in the same directory asapi.py, then enter1.wav.
- Example code
from openai import OpenAI

client = OpenAI(api_key='12314', base_url='http://127.0.0.1:9933/v1')
with  client.audio.speech.with_streaming_response.create(
                    model='tts-1',
                    voice='中文女',
                    input='你好啊,亲爱的朋友们',
                    speed=1.0
                ) as response:
    with open('./test.wav', 'wb') as f:
       for chunk in response.iter_bytes():
            f.write(chunk)